 Welcome, PMs!
This guide will walk you through ordering, setup, and commissioning Denowatts for your solar project.
Ordering Denowatts

- Location
- AC capacity
- Mounting type (roof, ground, tracker)
- Technology (monofacial/bifacial)
We also request that you attach site plans to help us configure the optimal hardware for the site.
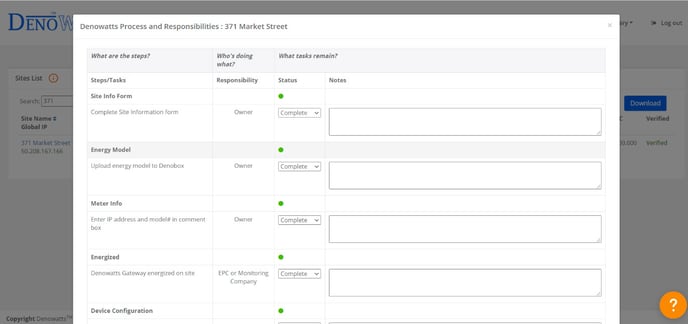
Setup Responsibilities
Once the order is placed, please review and incorporate the Denowatts Setup Tasks and Responsibilities document into your work plan. This document covers the tasks, recommended responsibilities, and estimated time required for setup.
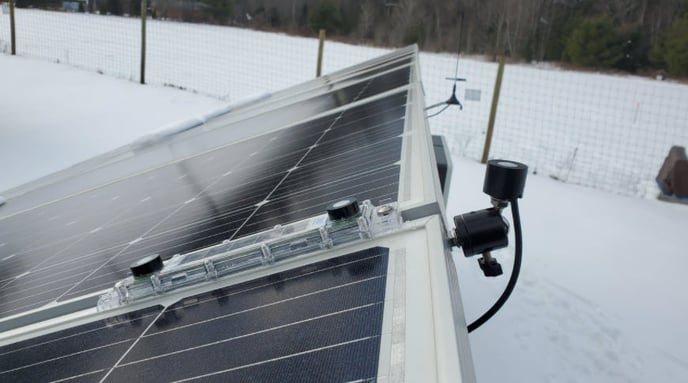
Installation
Installing the Denowatts hardware is essentially two steps:
- Gateway integration into the DAS cabinet
- Deno simulator installation on the solar modules
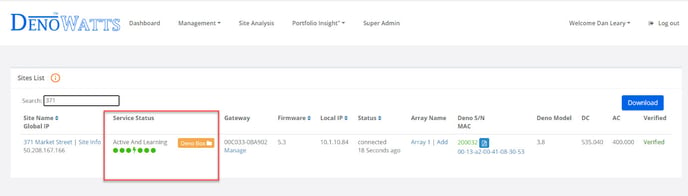
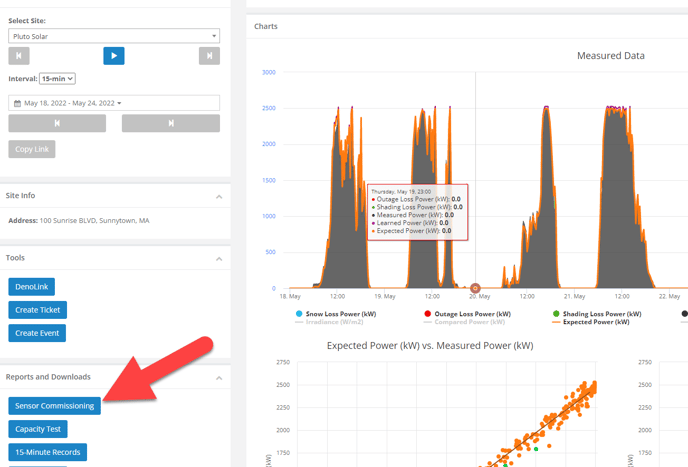
Commissioning
Once the hardware has been installed and configured, including the meter connection, the final step is to verify each sensor is working properly and the Expected power benchmark is reasonably aligned with the Measured power output of the array. Following a sunny day, users may download a Deno Simulator Commissioning Report from the Site Analysis Page.
Sensor Calibration Certificates are available for download on the Site Admin page. Denowatts is an ISO/IEC 17025 Accredited Calibration Laboratory.
Capacity Test
Once the Denowatts hardware setup and commissioning are complete, users may download capacity test results from the Denowatts performance portal.
Please refer to the Capacity Testing guide for complete details.

PMs may download this report on a nightly basis during the testing period to track the progress and view the valid data points count to determine when the testing is complete and satisfactory.